Tuesday, January 28, 2014

Challenge 2 Innovations: 1910 Corset Completed


The Challenge: Innovations
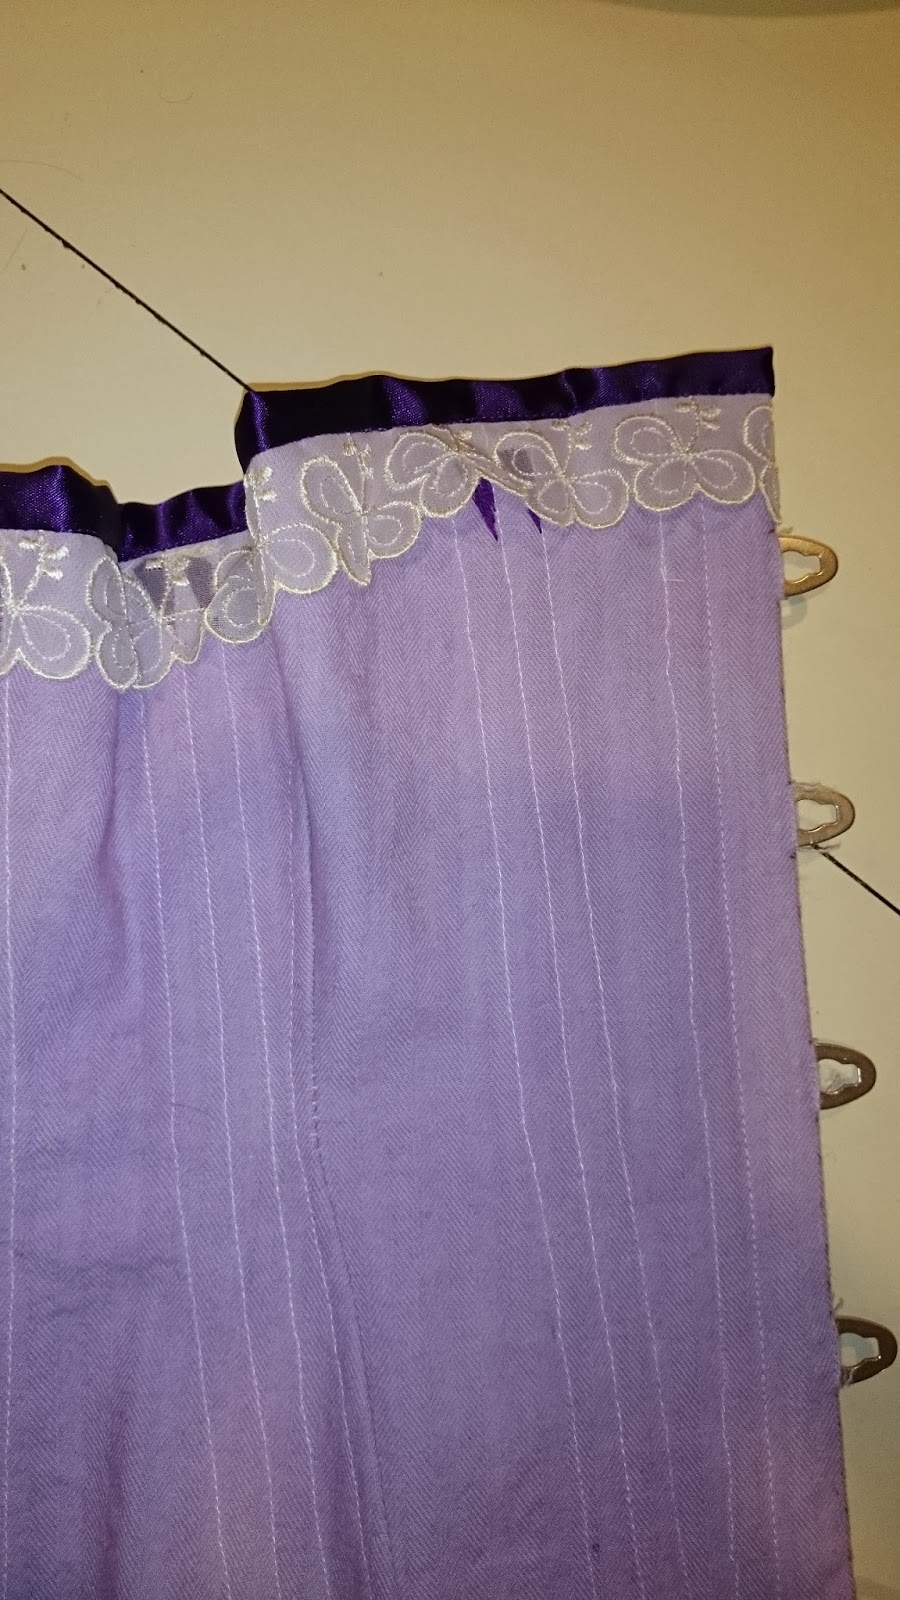
Fabric: lavender coutil
Pattern:  Reconstructing History 1910's Corset 2 out of 5 stars
Year: 1910
Notions: Purple Satin Ribbon, 1/4 inch steel boning, 1/4 white bias tape, 1/2 inch purple bias tape, vintage lace, 10 inch busk
How historically accurate is it? 85% ? 
Hours to complete: I have no idea, almost 2 seasons of Once Upon a Time and many many interruptions.
First worn: For photo shoot

Total Cost: Approx. $50 including the coutil and boning. I bought everything for this at the beginning of 2012 so it doesn't seem fair to say that it was from my stash even though my materials did sit for almost 2 yrs.


Back view.  I only used 5 yards of lacing, I'm going to re-lace with a longer piece before I officially wear this. My husband took the pictures, I think he missed the concept that the picture is about the corset, not about me. There are a lot of projects coming up where he can learn though...


Princess Megan does not approve of Mommy getting pictures taken while not holding her.


Sunday, January 19, 2014

1910 Corset Construction

After making changes to my mock up and trying it on again I cut into my actual fabric. I still get a slightly panicky feel when I make that first cut.


I made some serious adjustments to the pattern to give more room in the hips and to take out all of the excess in the under bust area. I didn't like the line and the fit with the side piece split in two so I changed that piece as well. It all worked well on the mock up so it was time to get down to business.

Pretty felted seams.


The actual construction of this corset went rather quickly. I was determined to use stash items as much as possible so a lot of digging through various baskets, boxes, and various other containers happened. I didn't get nearly enough pictures of the work in progress. Before I knew it I had gotten through two seasons of Once Upon a Time on Netflix and was almost done.

I have to say I am rather proud of how quickly I got the busk in. It has been forever since I've sewn a corset and the busk used to scare the heck out of me but with this one I just did it.

 
 The grommets were a pain though. I still have the hand held grommet setter and I ended up with some sharp edges that I had to file down


There was some slight unevenness around the bottom that I had to cut into a nice shape before I could bind the bottom. But over all it all came together fairly well.


Digging through my box of odds and ends I found this dark purple bias tape. So I knew exactly what I was binding the bottom with. I had the exact same shade of purple satin ribbon from a baby shower gift that I used for the top along with some vintage lace from my vintage box of lace and trim. Next post will show the completed project.
I can't leave without showing my little helper up to her mischief. Those are her brother's feet in the back ground. He was supposed to be keeping her out of my sewing stuff... I eventually got my measuring tape back.

Tuesday, January 14, 2014

1910 Corset Mock Up Fixes

During my last fitting I pinned the trouble areas. Then I adjusted the pieces accordingly. 

Huge difference in the side. I can not imagine how this would even work, at least not as an underbust.

I ended up pinching the side piece in by over 4 inches. 

I marked in a way to stay as true to the general shape as possible. I also marked on the plastic pattern just in case it didn't work so I Could try something different.

New side with fixes.

New back with fixes. After this I also added to the hips a bit to get a somewhat straighter line. But based on my original try on, I know my hips will squish into line a bit. 


Much Better!!! Although to be completely honest, I still don't like the pattern as well as I would like. It just feels as if it needs more moving parts. I'm definitely not an expert at corsetry, in fact they really intimidate the heck out of me but this pattern just doesn't impress me. 
Next step is the plunge into the actual fabric. I'm so hoping that it turns out nice. I must say my system for sewing as a mom is working out really well. I've been binge watching Once Upon a Time with my middle son while my little one plays. I have a lot of interruptions but I'm getting some bonding time at the same time. I'll have to do a post about my sewing area in the future. 


Thursday, January 9, 2014

1910 Corset Mock Up #1

With the photography skills of my eldest son I was able to try on my mock up of the 1910 corset. First I had to re-cut my mock up fabric in order to fit my new post-baby body, but being able to cut the pattern smaller was a pretty nifty experience.
Unfortunately mock up #1 had some serious fitting problems. Keep in mind as you look at the pictures that this is an under bust pattern...

 Front view. There will be a busk in the front but to mimic it I sewed the front pieces together and inserted some boning to give it shape. As you can see there are "wings" on the sides. I had cut the pattern even smaller than the measurement called for, but it looks as if it is meant for someone with a larger ahem... shelf than what I have.
 Side view. This is the portion of the pattern that just really isn't working. the side just bulges like crazy.

 Close up of side view, both sides have the identical problem.

 And rear view. Of course my real body is a bit squishier than my dress dummy so I'm used to the back view being a little off.

 So I thought to myself, it can't be right. My real body will squish and so the fit will be different. Sewing my handy dandy lacing strips on to the back and... nope it really was that bad of a fit. 
The back, as I predicted wasn't quite as bad though. I did leave out the front picture that my son took, trust me, it wasn't pretty.

So back to the cutting table. I must say that I am not exactly thrilled with this particular pattern. I almost trashed the whole project in lieu of using one of the patterns from Bridges on the Body. I wasn't that far along in the project after all. But I decided that I will continue on with this one because I want to see if I can over come the issues and see how it comes out. That way it's more of a learning experience for me and for anyone else that may have the same issues and stumbles upon this blog. 

Monday, January 6, 2014

Challenge #2 Innovations Planning Phase

Challenge #2 Innovations

For this challenge I have decided to make the 1910's corset that I had planned in 2012. 
I had gotten as far as my mock up and then stopped due to my pregnancy. Now I have lost an additional 25lbs plus all the baby weight so I need to start completely over. I had already purchased all of the materials because my plan had been to complete the corset sew along over at bridges on the body, see http://bridgesonthebody.blogspot.com/2012/02/1911-all-steps-in-one-place.html
I'm still planning on using this as a guide to get me through.
I chose this particular item for innovations because it was such a dramatic shift in the female form in a short amount of time. Throughout much of the 1800's the focus of feminine fashion was to accentuate the hips by reducing the waist. The corsets in the late 1800's into the early 1900's also tended to poof out the breast in order to create an ideal "S" curve. 

 An example of the "S" curve in action.

Notice the pigeon breast?

Then all of a sudden fashion shifted in such a way as to create more of a column out of the female form. The dramatic curves created by the Victorian and Edwardian corsetry were done away with and a new ideal look emerged.

 1912 Ladies Journal

1912 brides

The foundation for the above fashions were built on a new corset. 
I am using Reconstructing History's 1910's corset pattern.
I had purchased lavender coutil for this corset as well. Hopefully there will be other challenges in 2014 that I can fit in with making the entire ensemble that I was planning for a Titanic themed event. 

Saturday, January 4, 2014

1930's Flour Sack Dress Complete

Front View
The Challenge: #1 Make Do & Mend
Fabric: Vintage Cotton Flour Sack
Pattern: Advance 4660
Year: 1930's
Notions: 6 vintage buttons from my grandmother's button Jar, vintage lace, and one snap.
How historically accurate is it? I would say pretty close to 100%
Hours to complete: 4-5 give or take with the help of a one year old
First worn: For photo shoot
Total cost: $21.20 to my shame, I bought the pattern and the fabric. My future challenges are going to be made from my stash as much as possible.
This project was a lot of fun and a great start for 2014 even though I technically completed in 2013. The pattern was easy to follow and I love how there are so many details that make it a very nicely put together little dress. 
Oh and when I said Megan is my sewing nemesis but that at least she doesn't eat my patterns like my cat used to, well I spoke to soon...
 Checking out the new dress

 More sitting

 Side View

Back View